Step-by-Step Guide How to Add Products in Odoo Inventory
Adding products is one of the most fundamental tasks in Odoo Inventory. Whether you’re managing a warehouse, a retail store, or running a manufacturing unit, having your products correctly set up in Odoo ensures smooth operations.
In this guide, we’ll walk you through the step-by-step process of how to add products in Odoo Inventory, including key configurations like product type, units, tracking, and inventory settings.
Note*: This blog applies to:
- Odoo 17 & 18
- Community & Enterprise versions (minor UI differences noted)
Why Adding Products Correctly Matters
- Accurate stock tracking
- Better reporting and forecasting
- Smooth integration with sales, purchase, and manufacturing
- Helps avoid future data errors and mismatches
Step 1: Navigate to the Inventory App
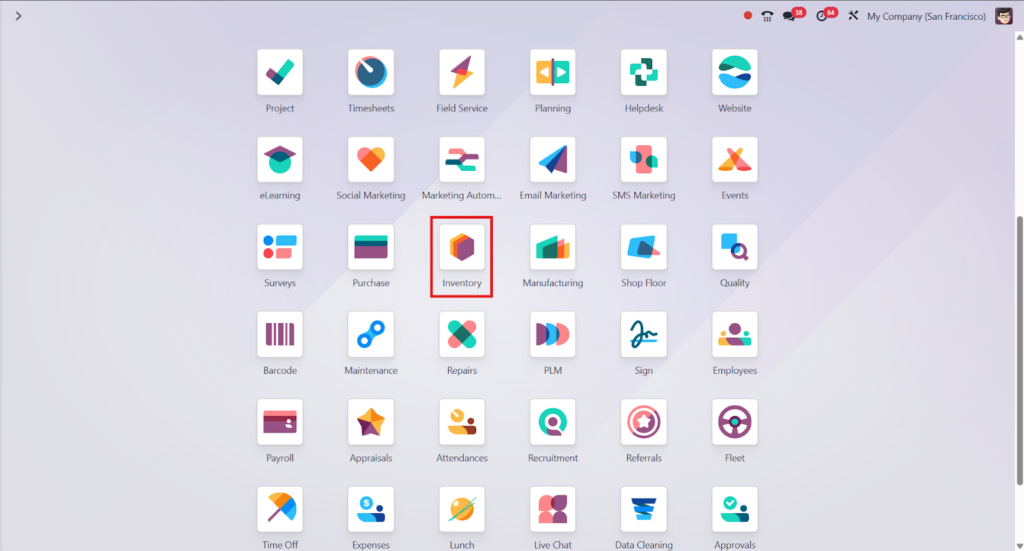
- Log in to your Odoo Dashboard
- Click on the “Inventory” module
Step 2: Access the Products Menu
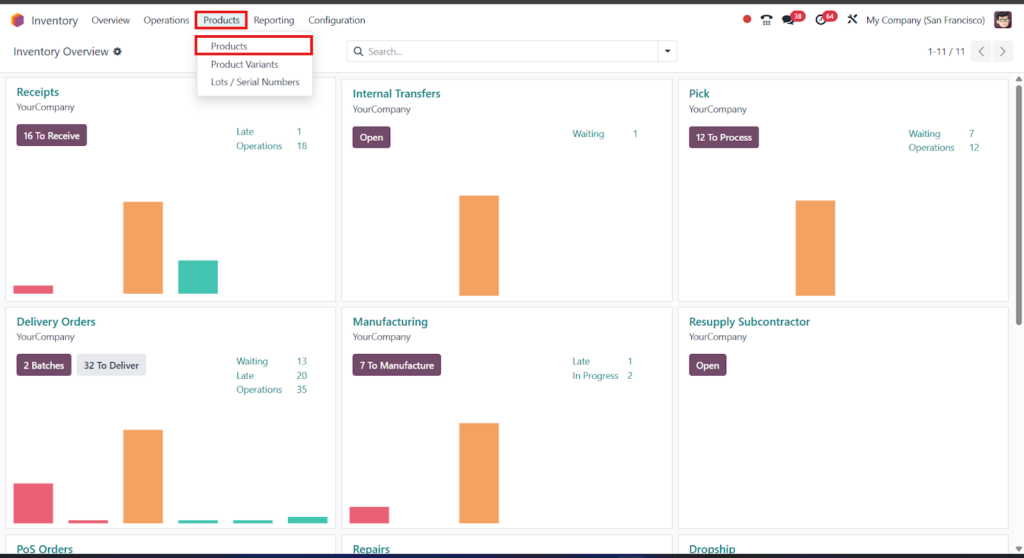
- From the left menu, click “Products” → then select “Products” again
- (Yes, both menu and submenu are named “Products”)
Step 3: Click on “Create”
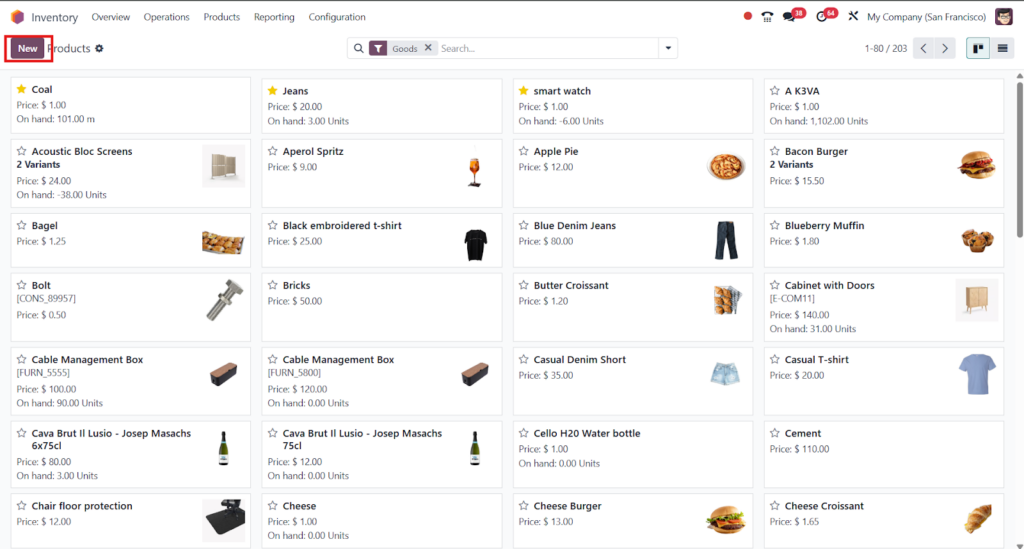
You’ll now see a list of existing products. To add a new one, simply click the “Create” button on the top left.
Step 4: Fill in Product Details
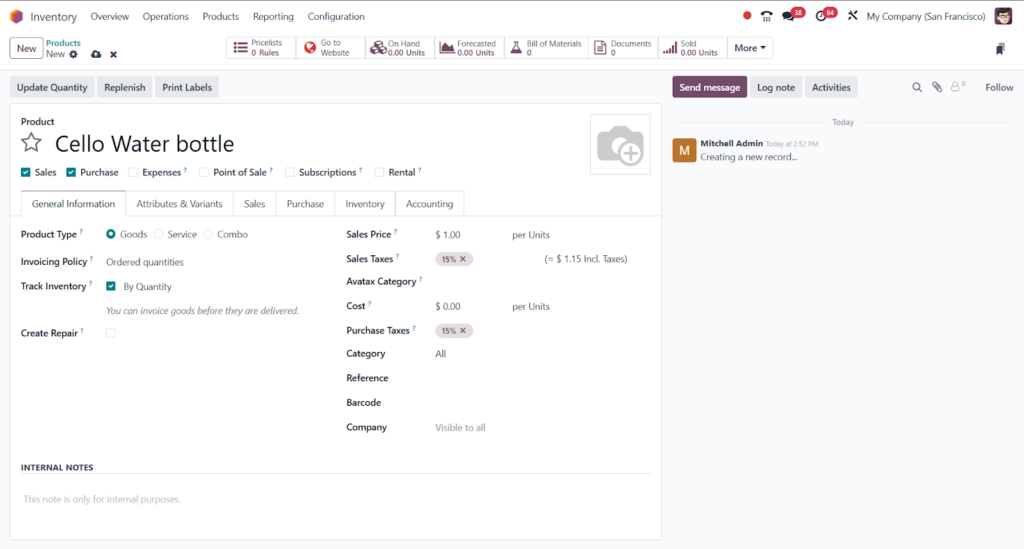
Now you’re in the product creation form. Here’s what to fill:
Basic Information
- Product Name: The name as it will appear in orders and reports
- Can be Sold: Tick this if it’s a sellable product
- Can be Purchased: Tick if you’ll procure it
Product Type
Choose from:
- Storable Product – Tracks stock in inventory (required for inventory operations)
- Consumable – No stock tracking
- Service – For non-physical items like support or installation
Note: In Odoo 18, the type selection is cleaner and placed at the top-right corner of the product form.
Product Category
- Helps in organizing and applying accounting or stock rules
- Internal Reference (SKU) – Optional but useful for large catalogs
Step 5: Inventory Tab – Stock Tracking Settings
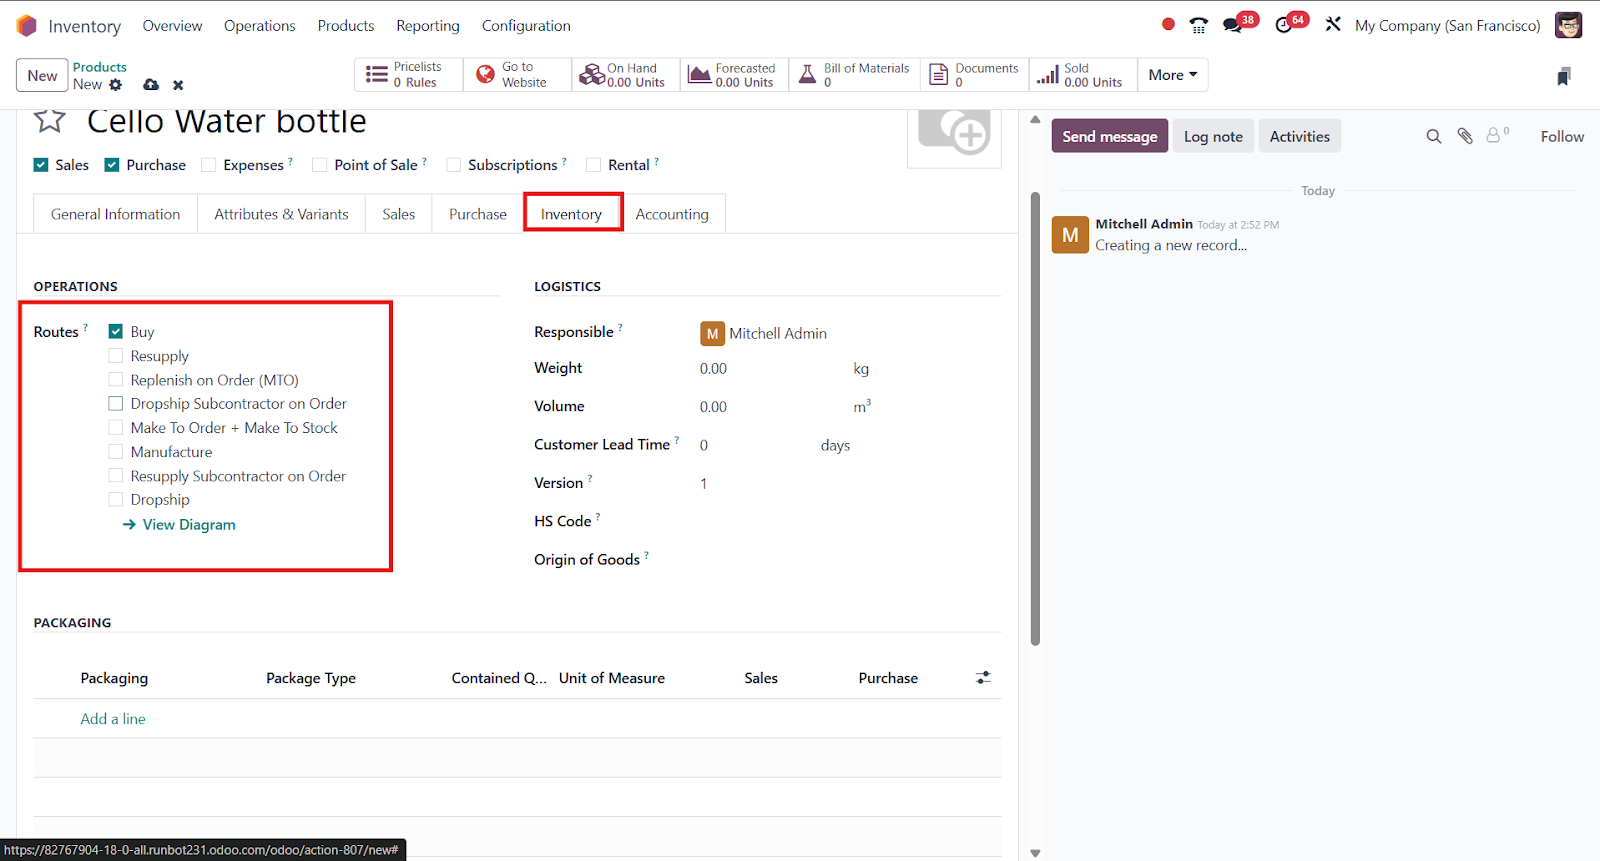
Click on the “Inventory” tab to set stock-related configurations. Set the following:
- Routes: Choose “Buy”, “Make to Order”, or “Manufacture” based on your flow
- Tracking:
- By Lot – For grouped items (like batches)
- By Serial Number – For individual tracking
- No Tracking – For general items
Lot and serial tracking are supported in both Odoo Community and Enterprise, but advanced traceability features are more robust in Enterprise.
Step 6: Add Units of Measure (Optional)
If your product is sold or bought in different units (e.g., boxes and pieces), configure the unit of measure and purchase unit of measure. This is under the General Information tab.
Step 7: Save the Product
Once all details are added, click “Save” on the top left. Your product is now successfully added to your inventory system!
Bonus: Duplicate a Product for Similar Entries
Odoo lets you duplicate an existing product. This is super helpful when you’re adding similar items. Just open a product → Click Action → Choose Duplicate
Common Mistakes to Avoid
| Mistake | What to Do Instead |
|---|---|
| Leaving product type as default | Always choose the correct product type |
| Not enabling “Can be Sold” | This will prevent the product from showing in sales |
| Forgetting to set tracking | Leads to errors in batch management |
| Adding incomplete names | Use clear, specific product names for easy search |
Final Thoughts
Adding products in Odoo might look simple, but doing it the right way saves a lot of trouble later. Whether you’re using Odoo 17 or Odoo 18, in Community or Enterprise, these steps will help you set up your inventory smoothly and professionally.